|
Scan to ComputerThe ability to scan to the computer from the printer is a crucial and effective function for business workplaces. Daily scanning of several documents is made simple and fast by the HP printer scan to computer capability. You must complete the scan to computer configuration in order to make the Scan to Computer from Printer feature available. Therefore, read the instructions in this blog below for that. You will be able to scan from a printer to a computer in a few simple steps and activate the scan to computer process.
|
Easy Guide For Setting Up Scanner From HP Printer To Computer
Be sure to take care of the following things before beginning the scan to computer setup steps:
- The network connection needs to be reliable and consistent; it shouldn't drop out during setup as this could make things more difficult.
- Next, it is required to install the most recent or updated version of the software. The essential component for your printer to work with your PC or laptop is the printer driver software.
- Last but not least, make sure the electricity supply is reliable to prevent delays in setup caused by the same issues.
Detailed Steps To Do Scan To Computer From Printer Setup
Let's move on to the procedures needed to configure the scan to computer feature after you have completed the aforementioned instructions.
How Can I Scan From My Printer?
Scan documents from your HP printer/scanner as soon as the scan to computer setup is complete. To do this, follow the instructions listed below;
Step1: Put the printed side of the document you want to scan down on the glass scanner first.
Step2: You might also need to load the documents into the document feeder, depending on the printer's indicators.
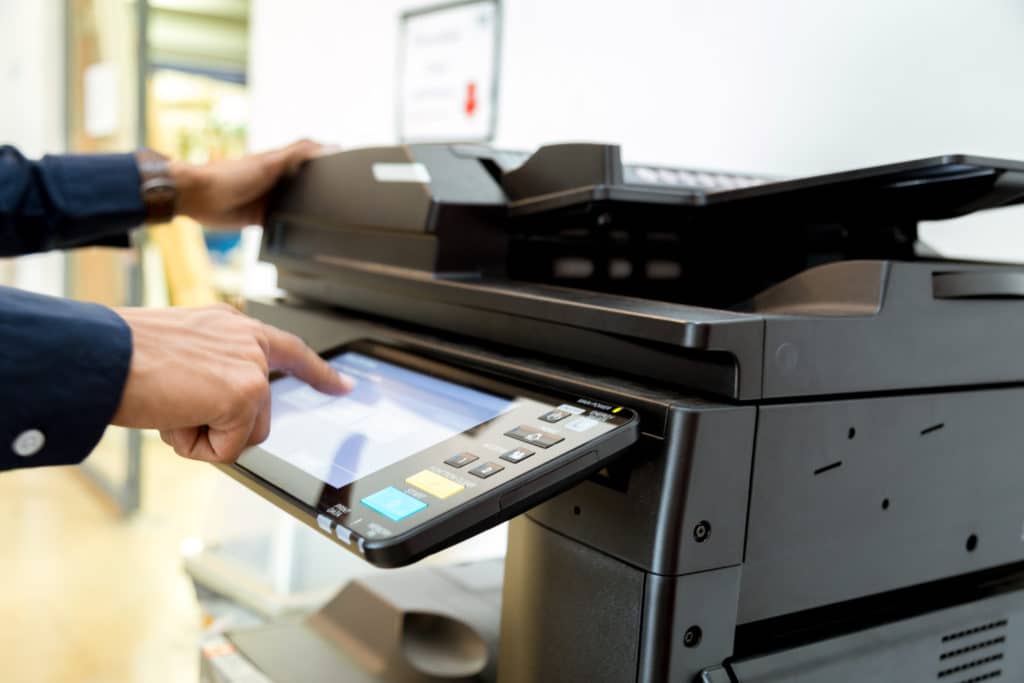
Step3: Select the "scan" option from the printer's control panel.
Step4: Next, swipe right to touch the computer icon.
Step5: Select the computer you want to scan.
Step6: Verify the scan shortcut option you want to use, or tap it to select a different choice.
Step7: If you are using the automated document feeder and your two-sided slider was initially single-sided, tap on the left side of the slider to move it to the other position.
Step8: Select any extra scan choices by clicking on the settings icon.
Step9: To scan the document, tap Send or Start scan.
How To Enable Scan To Computer HP?
Here are the steps to follow in order to locate and enable the Scan To Computer feature on your HP printer using HP Printer Assistant.
Step1: Locate the HP Printer Assistant once more and select it.
Step2: Select the Manage Scan to Computer menu from this menu.
Step3: A toggle is located in the scan to computer menu.
Step4: Click the toggle to make it active if it is currently disabled.
Step5: Verify that "Automatically start Scan to Computer when I log in to Windows" is checked.
Step6: When you have made the desired adjustments, click the Close button.
Step7: After the Scan to Computer option has been activated, try scanning from the control panel of your HP printer.
Troubleshooting Steps Of Scan To Computer
In case, if you encounter some problems then follow to these troubleshooting instructions to resolve the problem:
Let's move on to the procedures needed to configure the scan to computer feature after you have completed the aforementioned instructions.
- Install or upgrade the newest HP printer driver software first.
- The next step is to lay the paper on the glass scanner with the printing side facing up, ready for scanning to the computer.
- The paper's edges must line up with the marks that are pointing in its direction.
- Next, click the gear icon on the software program page, which denotes the settings menu.
- The next step is to select your preferred file format based on the document. This could be a document file or a photo.
- Therefore, select the 'Scan Picture' or 'Scan Document' tab.
- Allow the printer to finish scanning for a few seconds.
- Next, choose the location where the scanned file should be saved. When the printer asks you to, enter the file location.
- To save it, click the OK tab at the end.
How Can I Scan From My Printer?
Scan documents from your HP printer/scanner as soon as the scan to computer setup is complete. To do this, follow the instructions listed below;
Step1: Put the printed side of the document you want to scan down on the glass scanner first.
Step2: You might also need to load the documents into the document feeder, depending on the printer's indicators.
Step3: Select the "scan" option from the printer's control panel.
Step4: Next, swipe right to touch the computer icon.
Step5: Select the computer you want to scan.
Step6: Verify the scan shortcut option you want to use, or tap it to select a different choice.
Step7: If you are using the automated document feeder and your two-sided slider was initially single-sided, tap on the left side of the slider to move it to the other position.
Step8: Select any extra scan choices by clicking on the settings icon.
Step9: To scan the document, tap Send or Start scan.
How To Enable Scan To Computer HP?
Here are the steps to follow in order to locate and enable the Scan To Computer feature on your HP printer using HP Printer Assistant.
Step1: Locate the HP Printer Assistant once more and select it.
Step2: Select the Manage Scan to Computer menu from this menu.
Step3: A toggle is located in the scan to computer menu.
Step4: Click the toggle to make it active if it is currently disabled.
Step5: Verify that "Automatically start Scan to Computer when I log in to Windows" is checked.
Step6: When you have made the desired adjustments, click the Close button.
Step7: After the Scan to Computer option has been activated, try scanning from the control panel of your HP printer.
Troubleshooting Steps Of Scan To Computer
In case, if you encounter some problems then follow to these troubleshooting instructions to resolve the problem:
- Install the HP scanner again after uninstalling it:
- If the HP scanner was not installed correctly, you can have these problems.
- By going to the control panel on your device, try to reinstall the scanner.
- After that, tap the control panel to make it open.
- Now select Programs and Features from the menu.
- Select the HP scanner from the list that appears on your screen after that.
- Right-click the HP scanner and select Uninstall from the pop-up menu to remove it.
- To uninstall the HP scanner from your system, adhere to the on-screen directions.
- Restart the device as directed after that. It's time to reinstall the HP scanner at this point.
- Open the HP driver download page first, then look for and choose your scanner from the list. You will be routed to the HP driver download website after entering your product name.
- You may see different printer/scanner drivers for different HP printer/scanner models here.
- Choose the HP scanner drivers that are ideal for your product model and the operating system you're using to install it now.
- Now, download and install the printer by following the instructions on your screen.
- Restart the devices to see if the problem has been fixed.
